
Trail Warm-Up Routine: What to Do Before a Hike
A hike usually starts before the trailhead.
It starts in the car after sitting. It starts at the parking lot, when you lace your shoes and decide whether to carry a pack. It starts in the first five minutes, when your calves, ankles, hips, and low back figure out whether today is flat, uphill, rocky, long, or hotter than expected.
That is why a trail warm-up matters.
Hiking may look like walking, but the trail changes the job. Hills, rocks, roots, descents, dirt, gravel, and fatigue all ask for more than a casual first step. A warm-up does not need to be long. It needs to prepare the parts of the body hiking asks from most: ankles, calves, hips, trunk, balance, and controlled stepping.
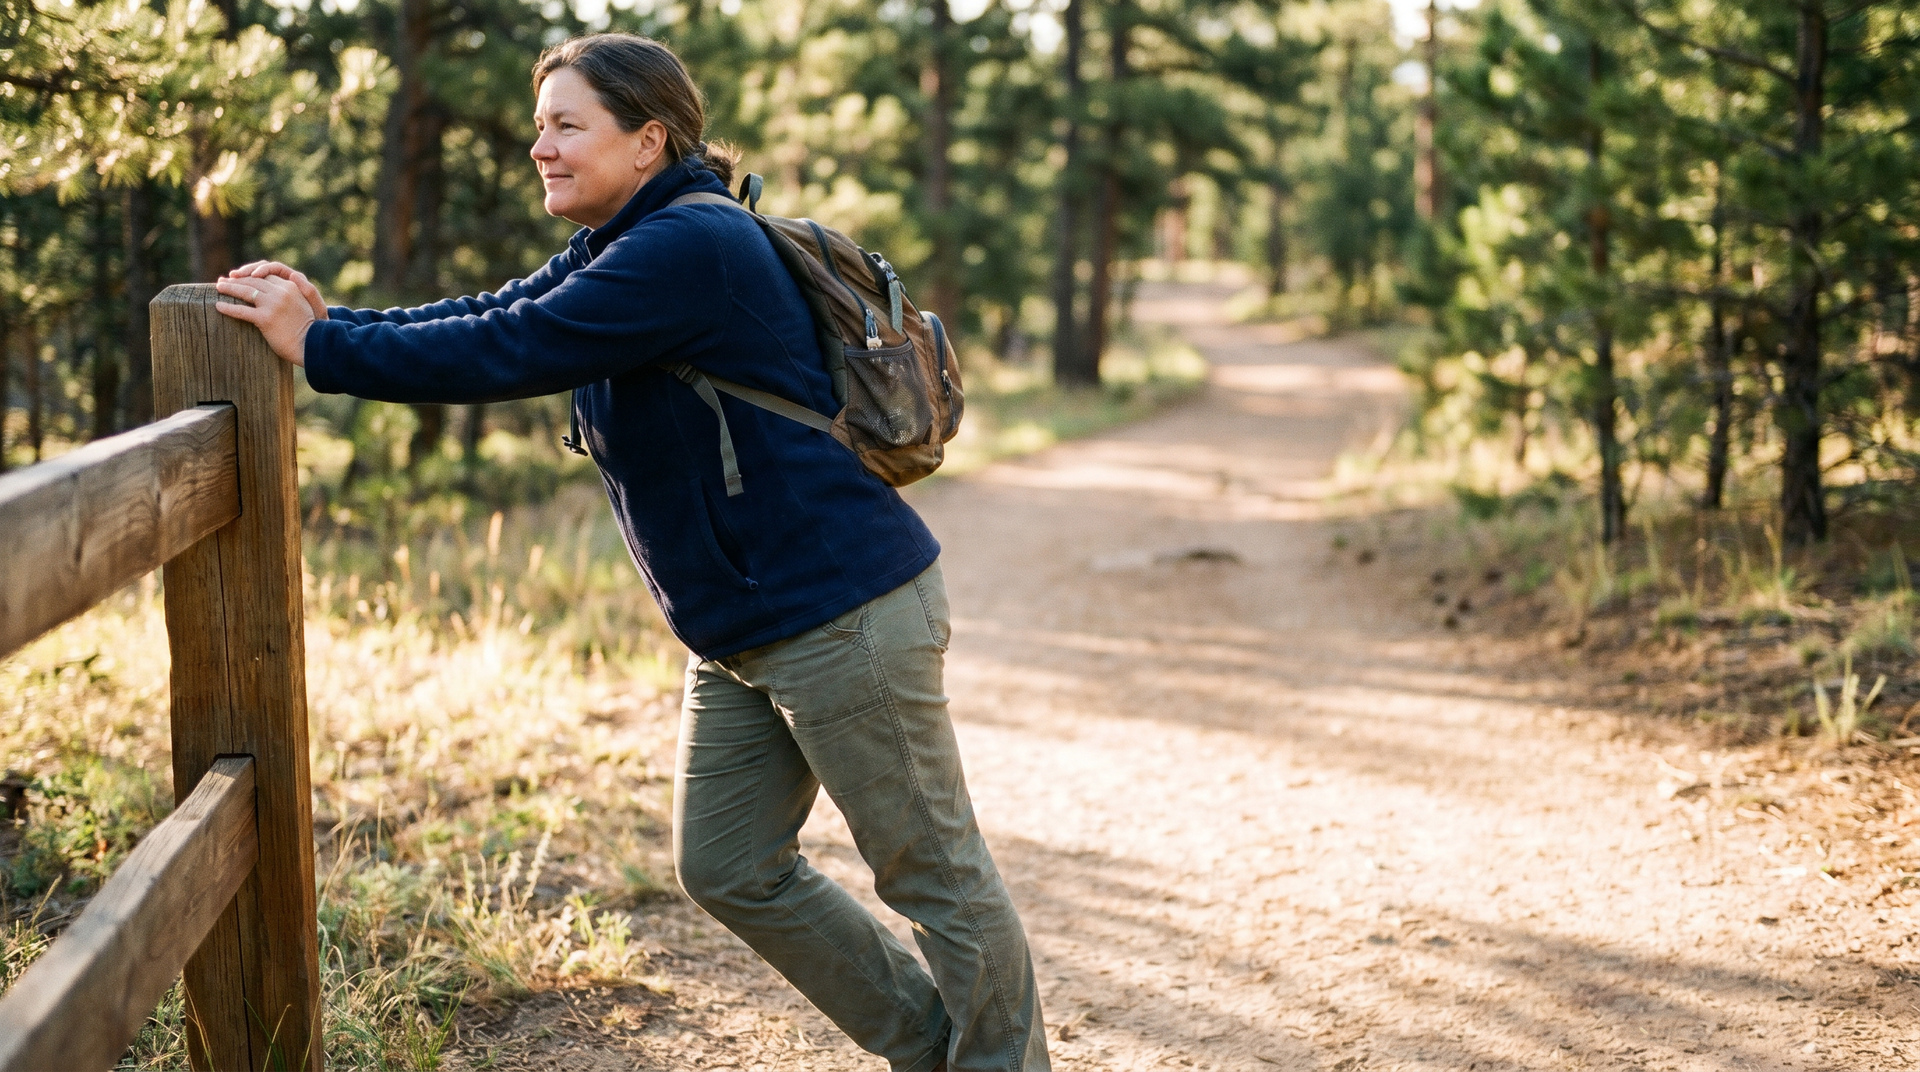
Hiking is walking in terrain
The first mile often feels stiff because the body is still shifting from sitting, driving, or standing around into movement. If the trail starts uphill, the calves and hips are asked to work quickly. If the surface is uneven, the ankles and balance system need to wake up. If you are carrying a pack, the trunk and hips have to stabilize more.
A good warm-up is a transition. It signals to the body that the day is about to demand motion, control, and endurance.
Yale Medicine notes that mobility work can be done before activity and distinguishes mobility from flexibility, including gentle dynamic movements that prepare the body to move. For hiking, that means a few minutes of dynamic, mobility-style prep readies usable motion better than static stretching alone. A
systematic review of warm-up routines supports this: dynamic stretching in a warm-up improved both performance and lower-limb range of motion, and the authors recommend it for activities that rely on the lower body.
The 5-minute trail warm-up
This version is for shorter, easier hikes or days when you need something quick.
| Warm-up move | Time | Trail purpose |
|---|---|---|
| Ankle circles | 30 seconds each side | Wakes up ankle motion |
| Calf rocks | 45 seconds | Prepares uphill and uneven ground |
| Hip hinges | 45 seconds | Prepares the hips and trunk position |
| Marching with balance | 60 seconds | Wakes up single-leg control |
| Step-backs or reverse lunges | 60 seconds | Prepares hips and knees |
| Easy first-minute walk | 60 seconds | Builds into the trail gradually |
Move slowly. The warm-up is not a workout. It is a bridge.
The 10-minute version for hills or longer hikes
Use this version before longer hikes, hillier routes, or trails where the first section is not forgiving.
Start with the 5-minute version, then add the following:
| Add-on | Why it helps |
|---|---|
| Lateral steps | Prepares hips and ankles for side-to-side terrain adjustments |
| Trunk rotations | Prepares turning, pack control, and visual scanning |
| Step-ups | Prepares hills, rocks, and stairs |
| Slow step-downs | Prepares downhill control |
| Pack-on walking | Helps the body adjust to carrying a load |
If the hike starts with a climb, spend extra time on calves, hips, and step-ups. If it includes descents, do not skip step-downs. If the trail is uneven, add balance and ankle preparation.
What each move prepares
Ankles and calves
Ankle circles, calf rocks, and calf raises help the lower leg prepare for push-off, landing, and uneven ground. This is especially useful before hills or rocky trails.
Hips
Hip hinges, step-backs, and lateral steps help the hips participate. Hips support climbing, stepping, and knee control.
Trunk
Trunk rotation and loaded walking help the body manage turning, looking around, and carrying a pack without feeling stiff through the low back.
Balance
Marching with balance or supported single-leg standing helps the body prepare for the moment when one foot is on the ground and the other is searching for the next step.
How to modify the routine
If your ankles feel stiff, spend more time on ankle rocks, calf raises, and slow walking before starting uphill.
If your knees dislike descents, include controlled step-downs before the trail starts. Keep the range small and focus on control.
If your hips feel tight, add more hip hinges, lateral steps, or step-backs.
If you are carrying a pack, put it on before the last minute of the warm-up and walk with it. Let the body feel the load before the trail demands it.
If balance is a concern, keep one hand near a car, railing, bench, or hiking pole while warming up. Safety matters more than looking athletic.
What not to do before a hike
Do not use the first hill as your warm-up. That is how the calves, knees, and low back get surprised.
Do not only stretch and then start fast. Static stretching alone does not prepare balance, footwork, or step control.
Do not ignore footwear or water. Local trail agencies often remind hikers to carry water and use appropriate shoes. For example,
California State Parks advises Mount Diablo visitors to carry plenty of water, wear sturdy closed-toe shoes, stay on designated trails, and use the buddy system.
Do not turn the warm-up into a hard workout. The goal is to feel ready, not tired.
When a warm-up is not enough
A warm-up can help you start better. It cannot solve every issue.
If you feel pain that changes your gait, repeated ankle rolling, sharp knee pain on descents, worsening foot pain, numbness, swelling, or instability, stop treating the warm-up as the solution. Those signs may need medical evaluation or a more complete training plan.
The warm-up is preparation for the day. Strength and balance training prepare you for the season.
How RBF prepares hikers beyond the warm-up
At Royal Blue Fitness, we use warm-ups as part of a larger system. A hiker may need calf strength, hip strength, step-down control, ankle stability, balance, walking volume, or a progression toward longer local trails.
In the assessment, two quick measures usually predict how much warm-up a hiker needs: ankle dorsiflexion, meaning how far the knee can travel past the toes without the heel lifting, and single-leg balance, meaning how long you can stand on one foot with control. When either is limited, we know the ankles and balance system will need the longer prep before uneven terrain, so we build that in rather than leaving it to chance at the trailhead.
A Strength and Range of Motion Assessment helps us see what your body has available now. Then we can build training around the hikes you actually want to do.
A parking-lot version you can actually use
Here is the routine in plain language for the trailhead.
First, stand tall and take two slow breaths. Feel your feet. Relax your shoulders. You are shifting from driving mode to hiking mode.
Second, circle each ankle slowly. Then rock forward and back through the ankles as if the first hill is already in front of you.
Third, do ten slow calf raises. Keep the pressure through the big toe, little toe, and heel. Do not roll outward.
Fourth, hinge at the hips ten times. Let the hips move back, and the trunk stay long. This prepares the climbing posture and helps the low back avoid doing all the work.
Fifth, march in place with control. Pause briefly on one leg. If balance feels questionable, keep one hand near the car or a pole.
Sixth, do a few small step-ups if a curb, rock, or stable step is available. Move slowly. Control the way down.
Then start the hike at an easy pace for the first few minutes. Let the trail build gradually.
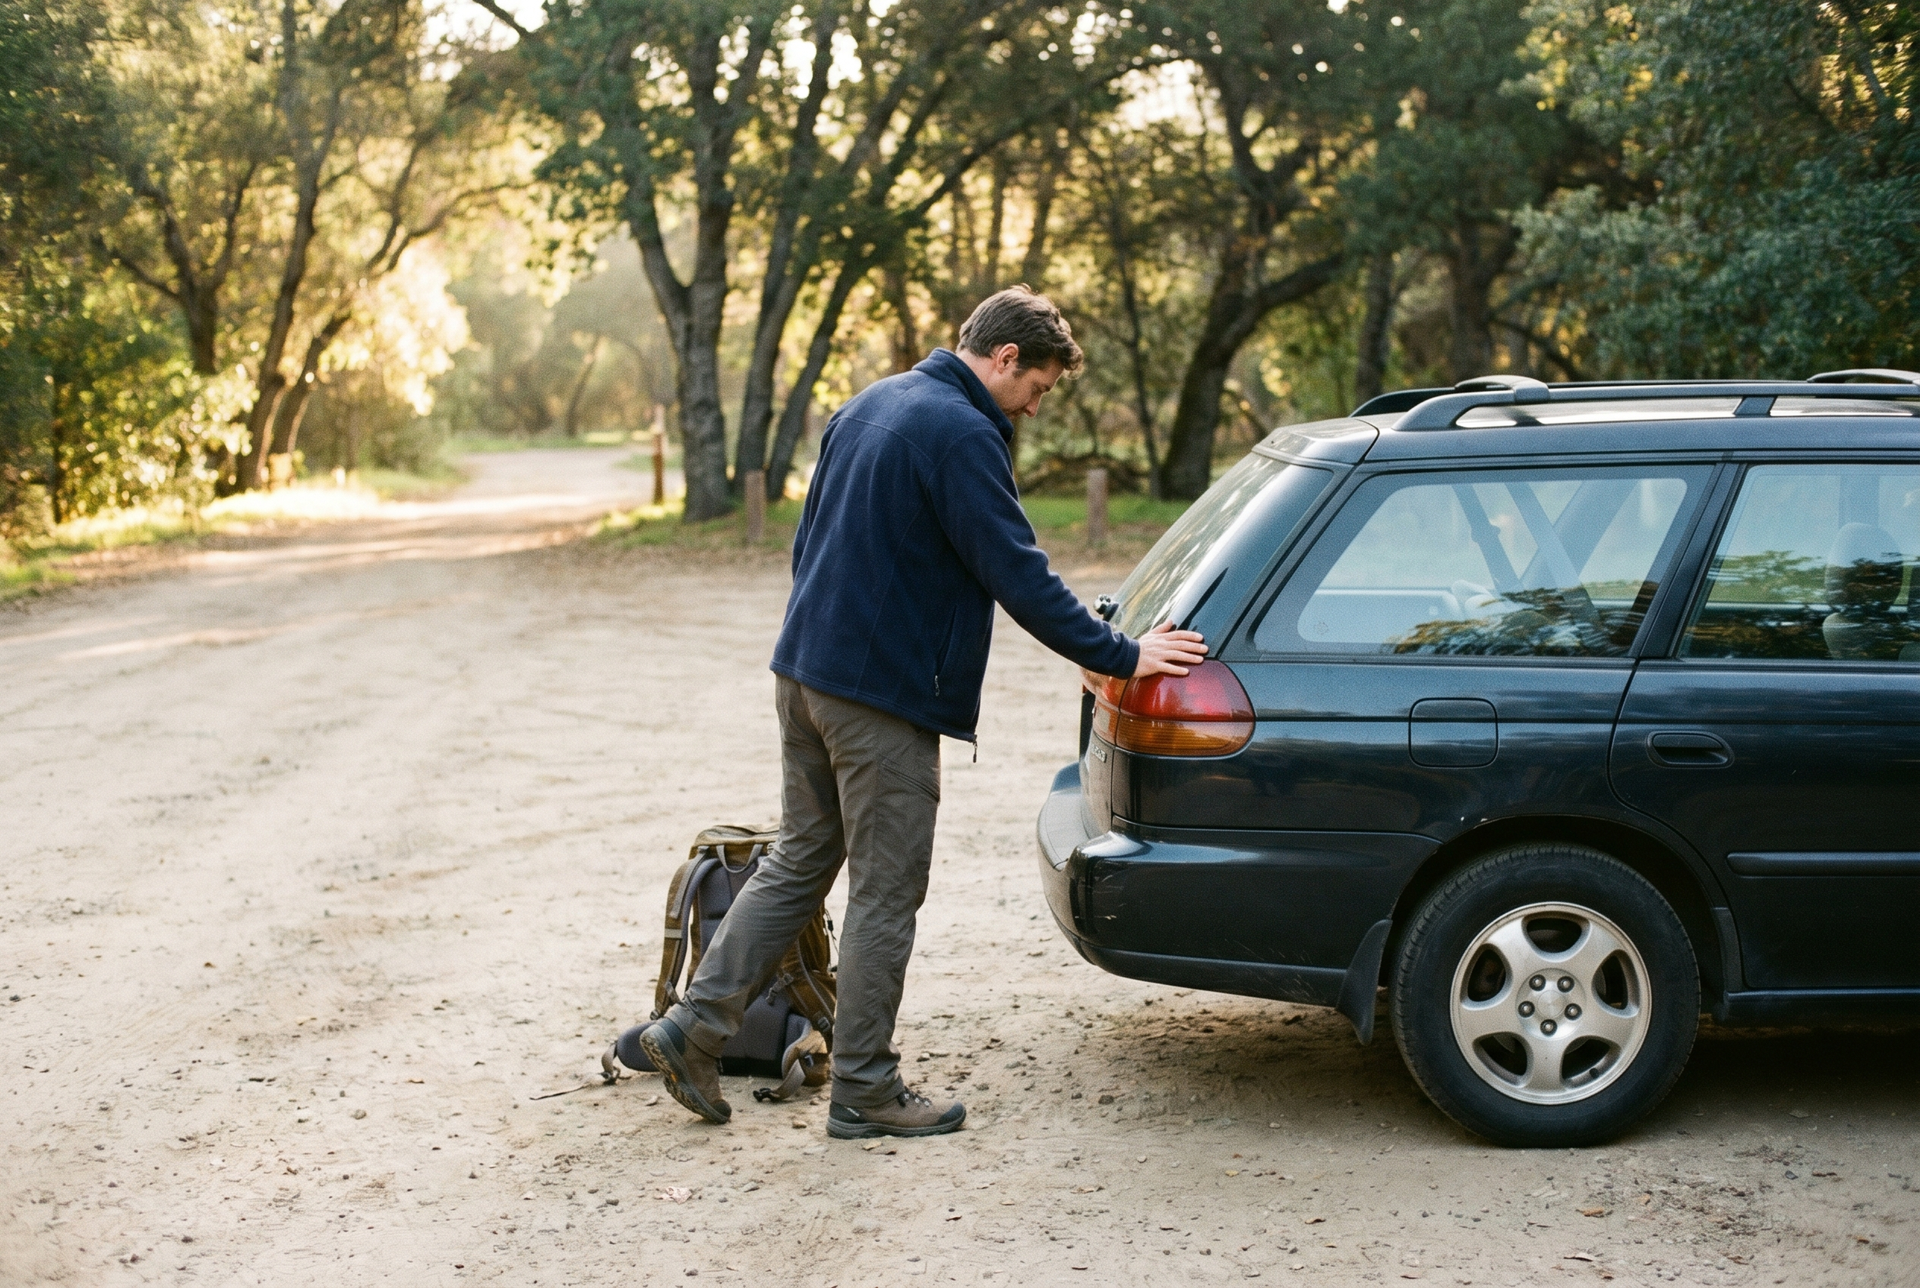
Terrain-specific warm-up adjustments
| Trail type | Add this before starting |
|---|---|
| Long paved route | Extra calf raises and easy first-mile pacing |
| Uphill start | Calf rocks, step-ups, and slower breathing |
| Downhill start | Step-downs and balance marching |
| Rocky trail | Ankle circles, single-leg balance, visual scanning |
| Pack hike | Put the pack on before the last minute of warm-up |
| Hot exposed route | Start slower, confirm water, and avoid rushing the first climb |
This is how a warm-up becomes useful instead of generic. You are matching preparation to the trail.
What about trekking poles?
Some hikers use trekking poles for balance, rhythm, and load distribution. Poles can be helpful, especially on descents or longer hikes, but they do not replace strength and balance.
If you use poles, practice with them on easier terrain before relying on them on a harder hike. The goal is coordination, not just carrying equipment.
Poles can support the hike, but your ankles, calves, hips, trunk, and balance still need to do their job.
When to use the warm-up as a decision point
A warm-up is also a check-in. If the first few ankle rocks feel stiff but improve quickly, that may be normal preparation. If step-downs create sharp knee pain, that is different. If balance marching feels unsafe even with support, the trail choice may need to change.
Use the warm-up to make a better decision before you are a mile from the car.
| Warm-up finding | Smart adjustment |
|---|---|
| Mild stiffness that improves | Start easy and continue monitoring |
| Sharp pain with stepping | Modify or stop and seek guidance if needed |
| Poor balance that feels unsafe | Choose an easier route or use support |
| Calves feel overloaded immediately | Reduce hills or pace early |
| Pack changes your posture | Adjust load or route length |
A warm-up does not replace training
The routine helps you start the hike. It does not create all the strength you need for the hike.
If every trail starts with the same tight calves, unstable ankles, knee irritation, or low-back fatigue, the warm-up is giving you information. You may need more strength, more balance, better progression, or a route that matches your current capacity.
That is where a training plan comes in. The warm-up is the doorway. Training is the foundation behind it.
Frequently Asked Questions
Should you warm up before hiking?
Yes, especially before hills, longer distances, uneven terrain, or hikes after sitting in the car. A short warm-up can help your ankles, calves, hips, trunk, and balance system feel more ready.
How long should a hiking warm-up take?
Five to ten minutes is enough for most people. Shorter hikes may only need the quick version. Longer, hillier, or more technical hikes deserve more preparation.
What should I warm up before hills?
Focus on calves, hips, step-ups, and breathing. Hills ask for push-off strength, hip drive, and cardiovascular readiness.
What should I do before going on a downhill hike?
Add slow step-downs, balance work, and controlled walking. Downhill hiking asks the quads, knees, ankles, and trunk to brake and stabilize.
What if my ankles feel stiff before hiking?
Use ankle circles, calf rocks, and calf raises, and start with a slower pace for the first few minutes. If stiffness or instability keeps returning, consider an assessment.
What should I avoid before a long hike?
Avoid starting too fast, skipping water, wearing untested shoes, using the first hill as your warm-up, or ignoring pain that changes how you walk.
Use the warm-up, then build the base
A good trail warm-up helps you start the hike better. A good training plan helps you enjoy more hikes with confidence.
If the same stiffness, pain, or instability keeps showing up on the trail, Royal Blue Fitness can help you look deeper. Start with a
Strength and Range of Motion Assessment and build the strength, balance, and readiness your hiking goals deserve.
Here are our latest articles! Click to read more.