Getting Up From the Floor After Hip Pain: A Real-Life Strength Checklist
A pen rolls under the table. A grandchild wants you down on the rug. You kneel to pull a weed, and a small voice asks whether getting back up will be graceful or a struggle.
Here is the reframe to carry through this checklist: the floor is a tool, not a verdict, and getting up from it is a skill you can rebuild. What follows is general fitness education to use alongside your provider, who knows your situation, meant to help you assess your own readiness honestly.

Who this checklist is for
This is for adults who are past the acute, painful stage of a hip issue and want to rebuild the everyday confidence to get down to the floor and back up. It is especially relevant for mature adults and anyone 50+, because age-related muscle loss and changes in balance quietly make demanding movements harder over time, and both respond well to training. If you are still in early recovery, in significant pain, or have been told not to load your hip yet, this checklist is a goal to work toward, not a test to take today.
How to use this checklist
Run through the five checks honestly, in a safe setting, ideally with someone nearby the first time. You are gathering information, not grading yourself, and the point is to find your weak link so you know where to aim your effort.
Here is the whole checklist at a glance:
| Readiness check | What to look for | What a gap may signal |
|---|---|---|
| 1. Lower-body strength | Stand from a chair without using your hands | Strength is the first thing to build |
| 2. Getting down to the floor | Lower yourself with control, using support | Train controlled lowering in a smaller range |
| 3. The half-kneel rise | Drive up from a half-kneel on one leg | The key transition needs focused work |
| 4. Balance and confidence | Feel steady at the top; hold a brief single-leg stance | Add balance work to match your strength |
| 5. Environment and support | Firm floor, sturdy support, clear path | Fix the setup before you practice |
Check, meaning, action
Each check has the same three parts:
What to check: a simple thing to try or observe.
What it may mean: how to read the result without overinterpreting it.
What to do next: the practical step that follows.
Move through them at your own pace, and skip anything that feels unsafe to attempt.
Three kinds of findings
Your results will tend to fall into three kinds, and it helps to name them without turning them into a stoplight:
Ready: the ability is there and feels solid.
Build it first: the ability is partway there and needs focused work before you rely on it.
Check before you try: something feels unsafe, painful, or unstable, and it deserves a provider's input before you push.
Most people land in a mix, and the mix is the map.
Readiness check 1: lower-body strength
Everything about getting off the floor runs on lower-body strength. It is the engine, so it is where the checklist starts.
What to check. Can you stand up from a sturdy, standard-height chair without using your hands? Try it a few times slowly and notice whether you can rise with control, whether you need to rock for momentum, and whether one side feels weaker than the other. The hands-free sit-to-stand is a clean, low-risk window into that strength, and it doubles as
an exercise that builds leg strength and balance.
What it may mean. Rising smoothly and repeatedly without hands suggests you have a solid strength base to build floor skills on. Needing to push off your thighs, rock for momentum, or stop after a couple of reps points to a strength gap that will make the floor much harder than it needs to be. A clear side-to-side difference is worth noting too, since the floor will expose it.
What to do next. If the chair test is easy, you are ready to work on the floor-specific skills below. If it is a struggle, make sit-to-stands and other gentle leg strengthening your first project, building from a higher seat down to a standard one over time. Strength here is the foundation; the rest of the checklist sits atop it.
Readiness check 2: getting down to the floor
Before you can practice getting up, you have to get down safely. The descent is its own skill, and a controlled one protects the hip.
What to check. Using a stable support such as a sturdy chair or couch, can you lower yourself toward the floor with control, pausing along the way rather than dropping? Notice whether you can manage a half-kneel on the way down and whether your hip tolerates the bend without sharp pain. Keep the support within reach at all times.
What it may mean. A smooth, controlled descent with support means your hip has the range and control to begin floor work. A descent that feels like a barely managed fall, or that provokes sharp hip pain, means the lowering itself needs work before the rising does. Stiffness that blocks a comfortable kneel points more toward mobility, while a leg that simply cannot hold you on the way down points toward strength.
What to do next. If you can get down with control, move on to the transition. If not, practice supported lowering in a smaller range first, using a higher surface to break the distance into manageable stages. Build comfort and control on the way down before you ask much of the way up.
Readiness check 3: the transition, half-kneel and rise
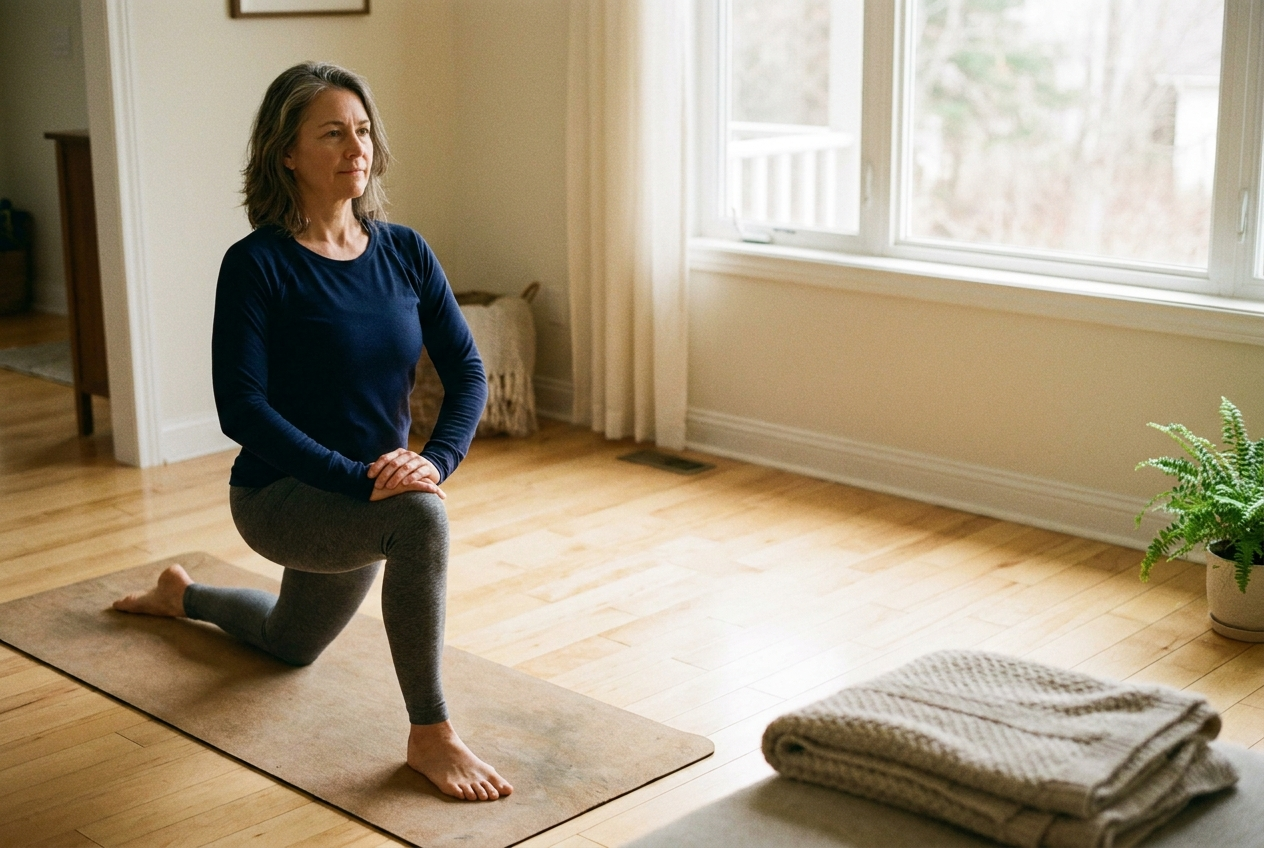
The hardest moment in any floor rise is the middle: the half-kneel where you drive up from one leg. This is where most people get stuck, and where most of the trainable skills live.
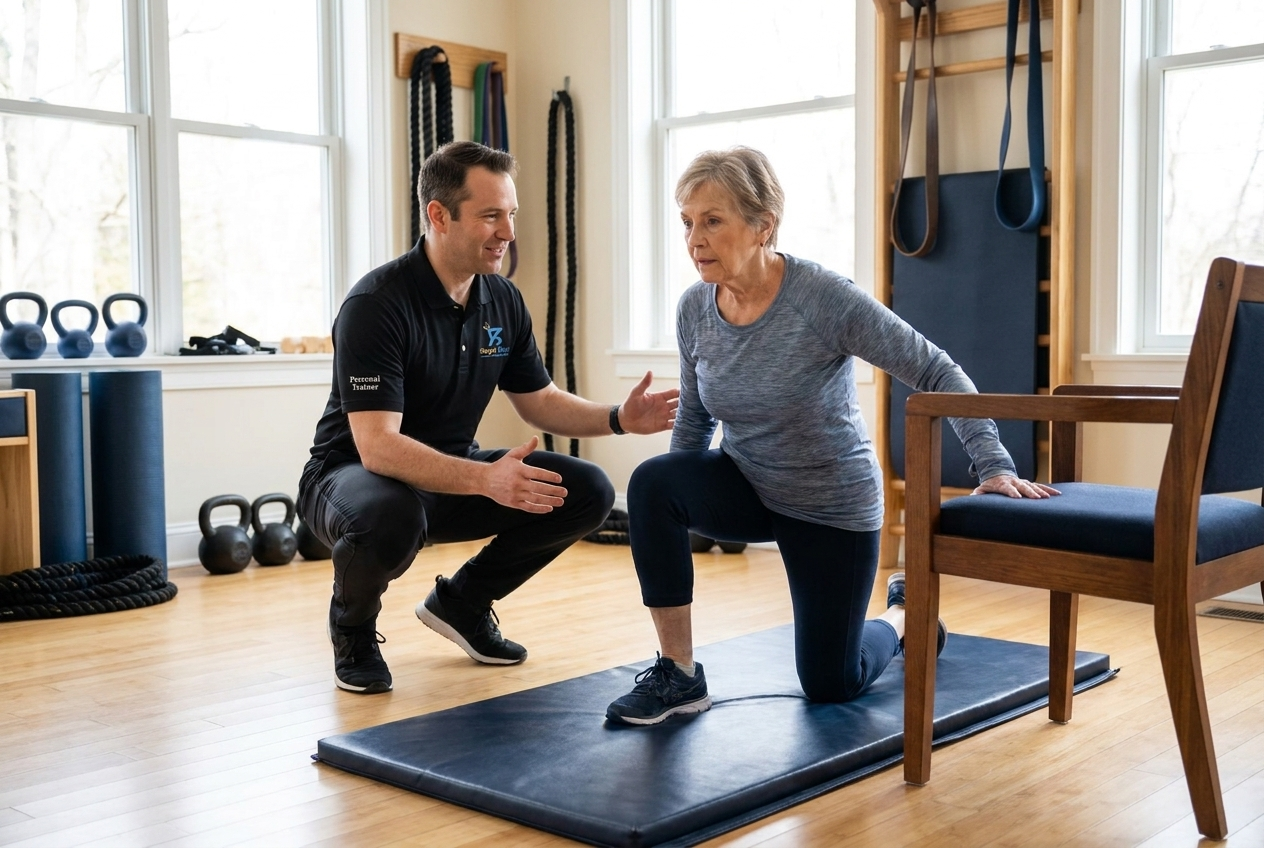
What to check. From a half-kneeling position, one knee down and one foot flat in front, can you drive up to standing using that front leg, with a hand on a support if needed? Try each side, since hips are rarely symmetrical after pain. Watch whether you can push up with control or whether the front leg stalls partway.
What it may mean. Rising from a half-kneel with light or no support means the key transition is within reach. Needing to haul yourself up on furniture, or finding one side clearly cannot do it, points to single-leg strength and control as your limiting factor. This is the most common sticking point, and it is also one of the most responsive to focused practice.
What to do next. If the half-kneel rise is manageable, link the whole sequence together, down and up, with support nearby. If it is not, train the half-kneel position directly: supported split-stance work and assisted rises that gradually reduce how much you lean on your hands. Strengthening that drive-up leg is what unlocks the whole movement.
Readiness check 4: balance and confidence
Strength gets you up; balance and confidence let you trust it. A floor rise that wobbles at the top is not finished, and hesitation has its own cost.
What to check. Once standing, do you feel steady, or do you need to grab something to settle? Earlier, can you hold a single-leg stance for several seconds, and does standing on one foot feel secure? Notice any moment where balance, rather than strength, is the thing that feels shaky.
What it may mean. Feeling steady through the rise and at the top suggests good control to match your strength. Wobble, a grab for support, or shaky single-leg balance points to a stability gap, which is common and very trainable.
A balance and strength program can reduce falls and improve steadiness in mature adults, and training both pays off in steadier movement overall.
What to do next. If balance feels solid, your floor skills are close to dependable. If it feels shaky,
fold simple balance work into your week: single-leg stance near a counter, slow weight shifts, and controlled step-ups. Confidence usually follows competence, so as the balance improves, the hesitation tends to fade with it.
Readiness check 5: your environment and support
The last check is not about your body at all. It is about where you are doing this, because the smartest plan can be undone by a slick floor or nothing to hold.
What to check. Look at the space where you would actually get down and up.
Is the floor firm and non-slip, is there a stable piece of furniture to use as support, and is the area clear of clutter and trip hazards? Consider whether someone is around, especially while you are still building the skill.
What it may mean. A safe, supported space lets you practice and live with far less risk. A slick floor, nothing sturdy to grab, or a cluttered path turns an ordinary floor rise into an avoidable hazard. Many floor-related falls happen not because the person could not do it, but because the setting worked against them. The environment is a variable you control.
What to do next. Set yourself up to succeed: practice on a firm surface near a stable support, clear the path, and keep a phone within reach. As your skill grows, you will need fewer of these supports, but there is no reason to remove the easy safeguards while you are still building. Good setup is not a crutch; it is good sense.
Reading your overall pattern
Step back and look at the five checks together, because the pattern matters more than any single result. If strength is your weak link across several checks, that is your first project. If your strength is fine but your balance or the half-kneel transition is shaky, aim there. A mix of ready findings with one or two build-it-first findings is the most common picture, and it gives you a clear, short list rather than a vague worry.
And remember the reframe: a finding that says build it first is not a verdict that you cannot do it. It is simply the floor telling you which ability to train next.
When to get guidance before you start
Some findings call for a professional before you push. Sharp hip pain during these checks, a hip that gives way or locks, recent falls, significant unsteadiness, or simply not feeling safe attempting the floor are all reasons to check in with a provider first. Practicing floor transfers is generally meant for those at low fall risk who can stand on their own, so if that is not clearly you yet, get guidance before you practice alone. A short conversation with your provider or a coach can confirm you are ready and spare you an avoidable scare. Asking first is not weakness; it is how you keep the practice safe.
Building the strength to get up with confidence
Whatever your weak link, the path forward is the same shape: build the lower-body strength that getting up depends on, restore the range the descent and half-kneel demand, and add balance work so the whole thing feels steady. Strength and balance training is the most reliable way to protect function and reduce fall risk as you age, and it works at any starting point, which means it is never too late to begin and rarely too early to ask for help shaping the plan.
If you would rather build this with a plan and a coach instead of guessing, Royal Blue Fitness specializes in exactly this kind of real-life strength for adults 50+. The entry point is a Strength and Range of Motion Assessment, which maps your weak link and shapes the
Strong for Life pathway around it, in coordination with your providers.
Book your assessment and start with the check that matters most. The goal is not just to pass the checklist; it is to stop thinking about the floor at all.
Frequently Asked Questions
Why is getting up from the floor so hard after hip pain?
Because a floor rise demands a stack of abilities at once: lower-body strength, single-leg control in the half-kneel, hip range to get down and up, and balance at the top. Hip pain and the rest that follows it tend to chip away at several of these together, so the movement that used to be automatic now feels like a struggle. The good news is that each piece is trainable, which is why a checklist that finds your weak link is so useful.
What strength do I need to get off the floor?
Mainly lower-body strength, especially the single-leg control: the ability to drive up from a half-kneel on one leg and to stand from a low position with control. A useful benchmark is rising from a standard chair without using your hands, since that reflects the leg strength a floor rise builds on. If the chair test is hard, sit-to-stands and supported single-leg work are the place to start before tackling the floor itself.
Is it safe to practice floor transfers alone?
It can be, once you are at low fall risk, can stand unsupported, and have a safe setup, but it is wise to have someone nearby the first several times. Practice on a firm surface near a sturdy support, keep your phone within reach, and stop if anything feels sharp or unstable. If you are unsteady, recovering from a recent fall, or unsure, get guidance before practicing on your own.
What if I can't get down to the floor at all?
Then the descent is your starting project, not a dead end. Practice controlled lowering to a higher surface first, such as a couch or a sturdy chair, and shrink the distance to the floor gradually as strength and control improve. Building the strength and range to get down safely is itself meaningful progress, and it sets up everything that follows. A provider or coach can help you stage this safely.
How long until I can get up from the floor easily again?
Many people see meaningful gains within a few weeks of consistent strength and balance work, with steadier, more confident floor transfers over a couple of months. The timeline depends on your starting point, your hip history, and how regularly you practice, so treat it as a direction rather than a deadline. Tracking small wins, like an easier chair stand or a steadier half-kneel, keeps the progress visible and the motivation up.
Here are our latest articles! Click to read more.