Rotator Cuff-Friendly Strength Training: What to Train Beyond Band Exercises
You have done the bands. For weeks, maybe months, you have rotated that little loop of rubber until the shoulder feels calm and the motion is second nature.
Bands are a brilliant way to wake a shoulder up after pain, but they are an on-ramp, not the destination, and staying on them too long is where progress quietly stalls. This is general fitness education, to use alongside the provider who knows your shoulder, about what comes after the bands.
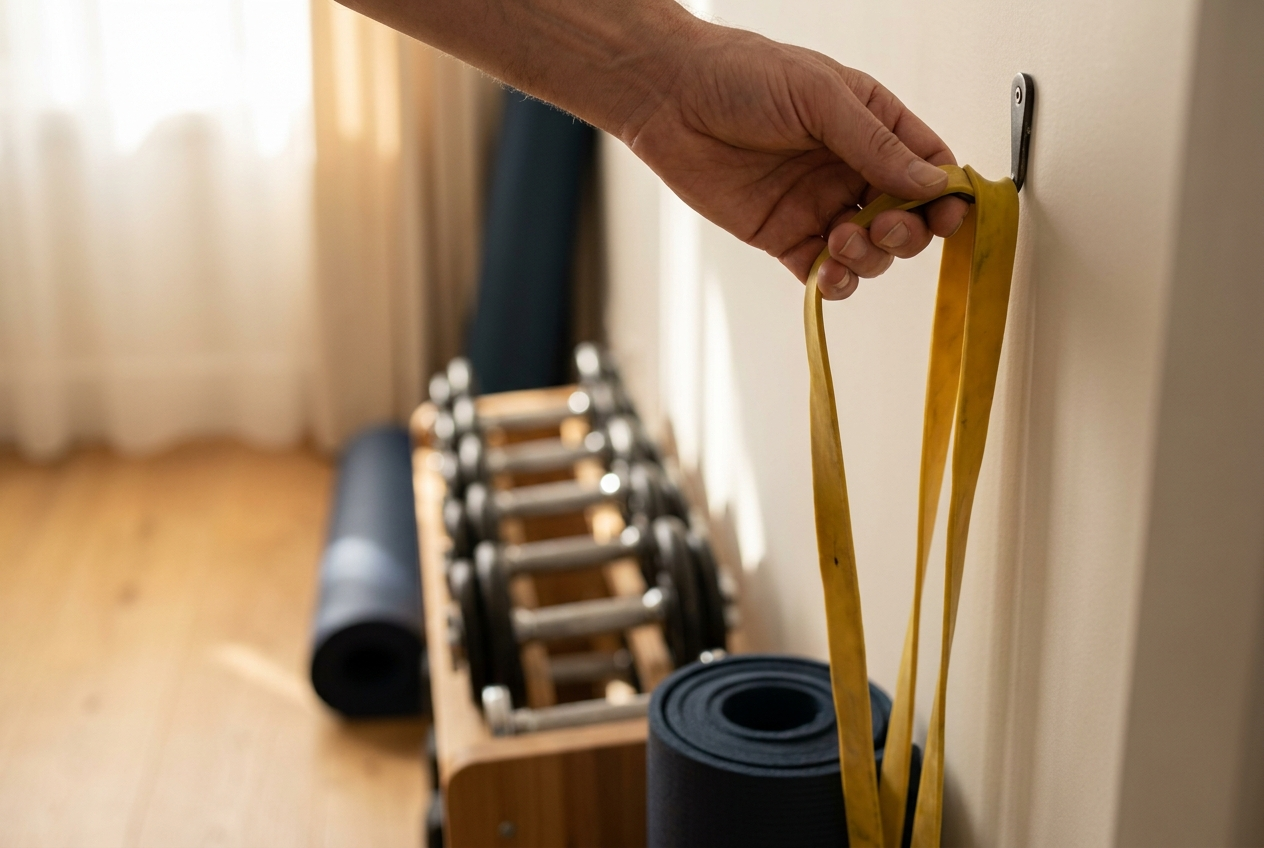
This is for shoulders ready to move past rehab bands
Rebuilding a shoulder after pain is the larger story, and this piece is one chapter near the end of it. The early chapters belong to your provider and to gentle, controlled rehab: calming symptoms, restoring motion, and reawakening the rotator cuff with light, precise work. This chapter picks up where those leave off, for the shoulder that is calm, controlled, and ready to be made genuinely strong. If you are not there yet, finish the earlier chapters first. Trying to skip ahead to load before the shoulder is calm is the most common way people stall, because the shoulder spends its energy protecting itself instead of building.
'Rotator cuff-friendly strength,' defined plainly
The phrase gets misread as code for forever-light and forever-careful. It means something better: building real strength in a way that keeps the cuff happy, because strengthening exercises are part of caring for the rotator cuff, not the opposite. It is mostly about how you train, not how little. The cuff does not need to be coddled forever; it needs to be loaded intelligently.
Beyond isolation: training the shoulder as a system
Endless isolated rotations treat the cuff as a part to be polished, when it is really one player on a team. The rotator cuff works best when it is trained alongside the shoulder blade, the upper back, and the whole arm in coordinated, loaded movement. Rotator-cuff-friendly strength means integrating the cuff into pulling, carrying, and pressing, so it learns to stabilize while the rest of the team produces force. That integration is what daily life and the gym actually demand. Nobody lifts a suitcase or pushes a heavy door with an isolated rotation; they do it with a whole shoulder working together, which is exactly what you are training toward.
Bands alone eventually stall progress
Bands are light by nature, and light is exactly what you want at the start and exactly what limits you later. The strength gain from low-load band work is modest, and once the cuff has adapted to it, the same band stops driving progress no matter how many reps you grind. A band also gives its least resistance where the shoulder is often weakest, so it under-challenges the very positions you want to strengthen. Outgrowing the band is not a problem to fix; it is a milestone to act on. When the hardest band in the drawer feels easy and your shoulder stays quiet, that is the cue to add a tool with more to give, not to do more reps of the same light thing.
The lifts to add once bands aren't enough
Graduating from bands does not mean leaping to heavy barbell pressing. It means widening the menu to include the loaded patterns the cuff can support, introduced in a sensible order:
Rows and pulling to add real load in friendly positions.
Carries and loaded holds to stabilize under weight.
Scaled pressing at friendlier angles and partial ranges.
Integrated cuff and scapular work, progressed and woven into the bigger lifts.
Rows and pulling patterns
Pulling is the friendliest place to add real load, and the most undertrained. Rows in their many forms build the upper back and the muscles that set the shoulder blade, giving the cuff a stable base to work from. Most shoulders thrive on more pulling than pressing during this phase, so let rows lead the way back to load. Seated rows, single-arm dumbbell rows, and cable rows all let you add real resistance while keeping the shoulder in friendly positions.
Carries and loaded holds
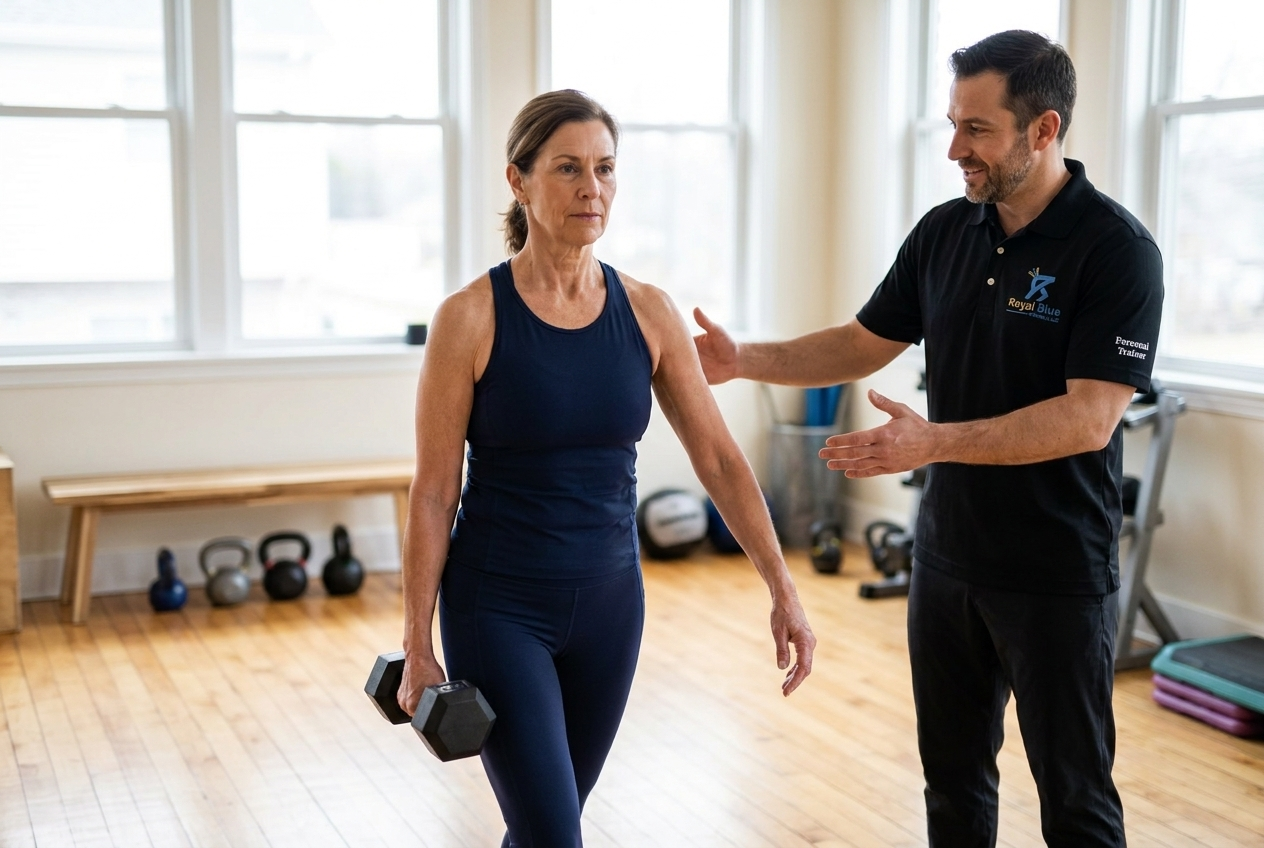
Carrying a weight at your side or overhead asks the cuff and the whole shoulder to stabilize under real load without much joint movement, which is one of the most shoulder-friendly and powerfully effective ways to build strength. Farmer-style carries and controlled holds teach the shoulder to own a load while staying centered. They are humble, unglamorous, and among the best cuff-friendly strength builders going. A simple suitcase carry, walking tall with a weight in one hand, teaches the whole shoulder to stabilize under a load it will actually meet in life.
Pressing patterns, scaled
Pressing is not off-limits; it is earned and scaled. Start with friendlier angles and partial ranges, such as a landmine press or a controlled incline press, before chasing full overhead loading. Scaling the press by angle, range, and load lets you train the pushing pattern while staying inside what the shoulder happily tolerates. Think of full overhead pressing as the top of a staircase you climb, not a door you walk straight through. Add demand as the shoulder proves it is ready.
Scapular and cuff integration
Keep dedicated cuff and shoulder-blade work in the mix, but progress it too: heavier than a starter band, and increasingly woven into the bigger lifts. The aim is a cuff that fires automatically to stabilize while you row, carry, and press, rather than one that only works during its own isolated drill. Integration is the whole point of graduating. A cuff that only works during its own drill is a cuff still in school; a cuff that braces automatically while you carry a heavy bag has graduated.
Who this method helps, and who should wait
Loaded, integrated strength work is the right next step for many shoulders and the wrong one for a few. Knowing which you are keeps the graduation safe.
Good candidates
This phase suits a shoulder that shows it is ready:
Past acute pain and moving through a comfortable range.
Doing controlled rehab without flaring, with bands that now feel easy.
Quiet day to day, settling back to baseline after a session.
A quick self-check: can you do your hardest band work cleanly, without compensating or wincing, and wake up fine the next morning? Readiness is about a calm, controllable shoulder, not how long ago the injury was. The shoulder, not the calendar, makes the call.
When to stay in earlier rehab a while longer
Hold off on adding real load if your shoulder is still:
Sharply painful or painful at rest.
Noticeably restricted in range.
Unstable, or giving way.
Freshly post-surgical without clearance.
Loading a shoulder that has not finished the earlier chapters tends to set it back rather than build it. A shoulder loaded too early progresses slowly; the same shoulder loaded at the right time progresses fast.
This method's strengths, and its limits
Loaded strength training is powerful, but it is not a cure-all, and naming its limits keeps your expectations honest.
What loaded strength actually builds
Progressively loaded strength work builds the genuine capacity that light band work cannot: real force, resilience, and a shoulder that holds up to the demands of life and training. Active, progressive loading is a guideline-recommended strategy for stubborn cuff and shoulder issues, with exercise results that have compared well with more invasive options for pain and function. This is where a shoulder stops being merely rehabbed and starts being strong. Rehab gets you out of pain; loaded strength gets you back to a life where the shoulder simply is not a consideration anymore.
What loaded strength will not fix
Loading will not resolve an active injury, a significant structural problem, or pain that is sharp and worsening, and pushing load into those situations usually makes them louder. It also will not substitute for a range of motion you do not yet have or control you have not built. Strength is the reward for a shoulder that is ready, not the treatment for one that is not. If loading consistently flares you, that is feedback that an earlier chapter is unfinished, not a reason to push harder.
Applying it intelligently
The difference between graduating well and getting hurt is mostly in the how: the order you add things and how closely you listen.
Sequencing from bands to load
Move in steps, not leaps: from bands to light dumbbells and cables, to loaded carries and rows, to scaled pressing, adding one new demand at a time. Resistance training builds strength effectively when it is progressed gradually rather than rushed. Change one variable per step so you always know what your shoulder is responding to. Add load, or add range, or add a new pattern, but not all three in the same week, or you will not know which one your shoulder liked.
A simple month might look like this: week one, add a set of single-arm dumbbell rows at a weight you control cleanly; week two, hold the rows and add a suitcase carry down the hallway and back; week three, hold both and introduce a light landmine press at a partial range. One new demand per week, each kept only if the next morning stays quiet, and by month's end, the shoulder has met three loaded patterns without a single ambitious leap.
Reading symptom response
Let the shoulder vote on every progression, and give it a day to answer. Mild effort and a shoulder that returns to baseline by the next day means the step was a good one; rising pain, a pinch, or lingering soreness means back off and hold. Progress that you can repeat without flaring is the only progress that compounds.
Where this method stops, and when to wait
This is a strength-progression guide for a shoulder that is past acute rehab and cleared for activity, not a treatment plan or a substitute for your provider. Sharp pain, instability, swelling, significant night pain, or symptoms that are clearly getting worse are reasons to pause and check in rather than load through. Use this to graduate a ready shoulder, and route the warning signs to the people trained to read them.
Your next step beyond the bands
If your shoulder is still early in recovery, finish the rehab chapters first; the strength here will be waiting. If your bands feel easy and your shoulder is calm and controllable, the loaded, integrated work above is your next step.
And if you would rather map the transition with help than guess at it, Royal Blue Fitness can look at where you are and build the transition from bands to real strength around your shoulder. The entry point is a Strength and Range of Motion Assessment, in coordination with your providers.
Book your assessment and map the transition instead of guessing at it. The training wheels did their job; this is how you ride. Bands got you moving again, and now the real load is what carries you the rest of the way.
Frequently Asked Questions
What comes after rotator cuff band exercises?
The next step is loaded, integrated strength work: rows and other pulling patterns, carries and loaded holds, and scaled pressing, with progressed cuff and shoulder-blade work woven in. The idea is to train the cuff as part of the whole shoulder under real load, not just in isolated drills. Add these in a sensible order once your shoulder is calm and your bands feel easy. A common, effective sequence is rows first, then carries, then scaled pressing, with cuff and scapular work progressed throughout.
Can I lift weights after shoulder rehab?
For most shoulders that are past acute pain, move comfortably, and have been doing controlled rehab without flaring, yes, with a gradual progression. Lifting is often exactly what builds the strength that rehab leaves unfinished. The keys are starting lighter than feels impressive, adding load slowly, and checking your next-day response. If you are unsure or recently post-surgical, get your provider's clearance first.
Are bands useless for the rotator cuff?
Not at all. Bands are excellent for early rehab, control, and reawakening the cuff, and they remain a useful warm-up and accessory tool. They are simply too light to keep building strength once the cuff has adapted to them. Think of bands as a valuable starting point you progress beyond, not a tool you abandon entirely.
What should I train first?
Lead with pulling. Rows and other pulling patterns are the friendliest way to add real load, and they build the upper-back and shoulder-blade support the cuff relies on. Pair them with carries and loaded holds, then add scaled pressing as the shoulder proves ready. Most shoulders in this phase do best with more pulling than pressing.
How heavy can I go?
Heavy enough to challenge the shoulder, light enough that your control stays clean and your next day stays quiet. There is no universal number; the right load is the one you can move well and recover from, increased in small steps over time. Let control and your symptom response set the ceiling rather than ambition, and progress one variable at a time. As a rule, if your form breaks down or the next morning is sore, the last jump was too big.
Here are our latest articles! Click to read more.