Postpartum Core Recovery for Diastasis Recti: Exercises, Cues, and Progressions
Maybe you have noticed a ridge or a bulge down the middle of your belly when you sit up, lift your baby, or push up off the couch. Diastasis recti is common after pregnancy, and the advice online tends to swing between two extremes: do these magic moves, or avoid abs forever.
Neither one actually helps you rebuild.
Diastasis recti is a normal response to pregnancy, not a sign you did something wrong or failed to be careful enough. A separated abdominal wall gets stronger when you rebuild tension, coordination, and pressure control through smart progressions. That means the right diastasis recti exercises, done with the right cues, then progressed like strength training.
Start from a cleared, informed place
This article is general education and fitness coaching, not a diagnosis or medical treatment. Before you start postpartum core work, get your OB or medical provider's okay to resume exercise after birth.
If you are dealing with pain, a bulge that looks like a hernia, pelvic heaviness, or leaking that does not settle, work with a pelvic floor physical therapist before you begin the movements below. A good coach and a good provider work well together, and starting from a clear, informed place is what makes the rest of this plan safe to follow.
What diastasis recti is, and what it is not
MedlinePlus explains that diastasis recti is a separation between the left and right sides of the rectus abdominis muscle. Many people also notice a cone-shaped bulge along the midline when they strain, and a
Baylor College of Medicine blog explainer describes that pattern clearly, noting that the bulge is usually felt when you cough, sit up, or lift something heavy.
What it is not:
- A sign you ruined your core
- A life sentence
- Something you fix by chasing an ab burn
A better way to think about diastasis recti core training is this: you are rebuilding your abdominal wall's ability to manage pressure and transfer force during real life.
How common diastasis recti really is
A large prospective study published in the
British Journal of Sports Medicine followed first-time mothers and reported diastasis recti in 60% of women at 6 weeks postpartum, 45.4% at 6 months, and 32.6% at 12 months. The same study found that mild diastasis was not linked to more low back or pelvic pain, which is reassuring if you are worried the gap itself is the problem.
For scale,
CDC provisional data reported 3,622,673 births in the United States in 2024. That is a lot of postpartum people navigating this every year, and you are far from alone in it.
Three simple rules that make these exercises more effective
Pressure control comes first
The goal is not to brace harder. It is to coordinate breath with the deep core so pressure stays controlled rather than pushing outward. Practical cue: exhale on effort, on the hardest part of the rep.
Choose the hardest version you can do well
If you see a ridge or cone-shaped bulge down the midline during a rep, scale the movement down and rebuild control first. That is not failure; it is feedback.
Progress like strength training
You get better results repeating a small set of drills consistently, then progressing gradually, than you do constantly switching exercises. A
2025 systematic review and network meta-analysis in Scientific Reports pooled 27 trials and found that programs combining deep and superficial abdominal training reduced the inter-recti distance more than passive or single-muscle approaches, though the authors note the certainty of the evidence varies. The practical takeaway: train the whole core with control, and give it time.
A gentle self-check, and when to get help
This self-check helps you notice patterns. It is not a diagnosis.
Gentle self-check:
- Lie on your back with knees bent and feet on the floor.
- Place your fingertips along the midline near your belly button.
- Exhale softly, then lift your head and shoulders 1 to 2 inches.
- Notice what you feel and see: does the midline feel supportive, or does it bulge upward into a ridge?
When to get help: if you have pain, a bulge that looks like a hernia, pelvic heaviness, leaking that persists, or you cannot find any version of core work that avoids midline bulging, it is smart to consult your OB provider and consider pelvic floor physical therapy.
Harvard Health notes that working with a physical therapist, who guides abdominal exercises and diaphragmatic breathing, can help decrease the muscle separation for many people.
Your postpartum core recovery plan
Use these phases as a menu, not a complete program. A simple approach is to pick 2 to 4 exercises from your current phase and practice them 2 to 4 days per week, keeping everything calm and controlled.
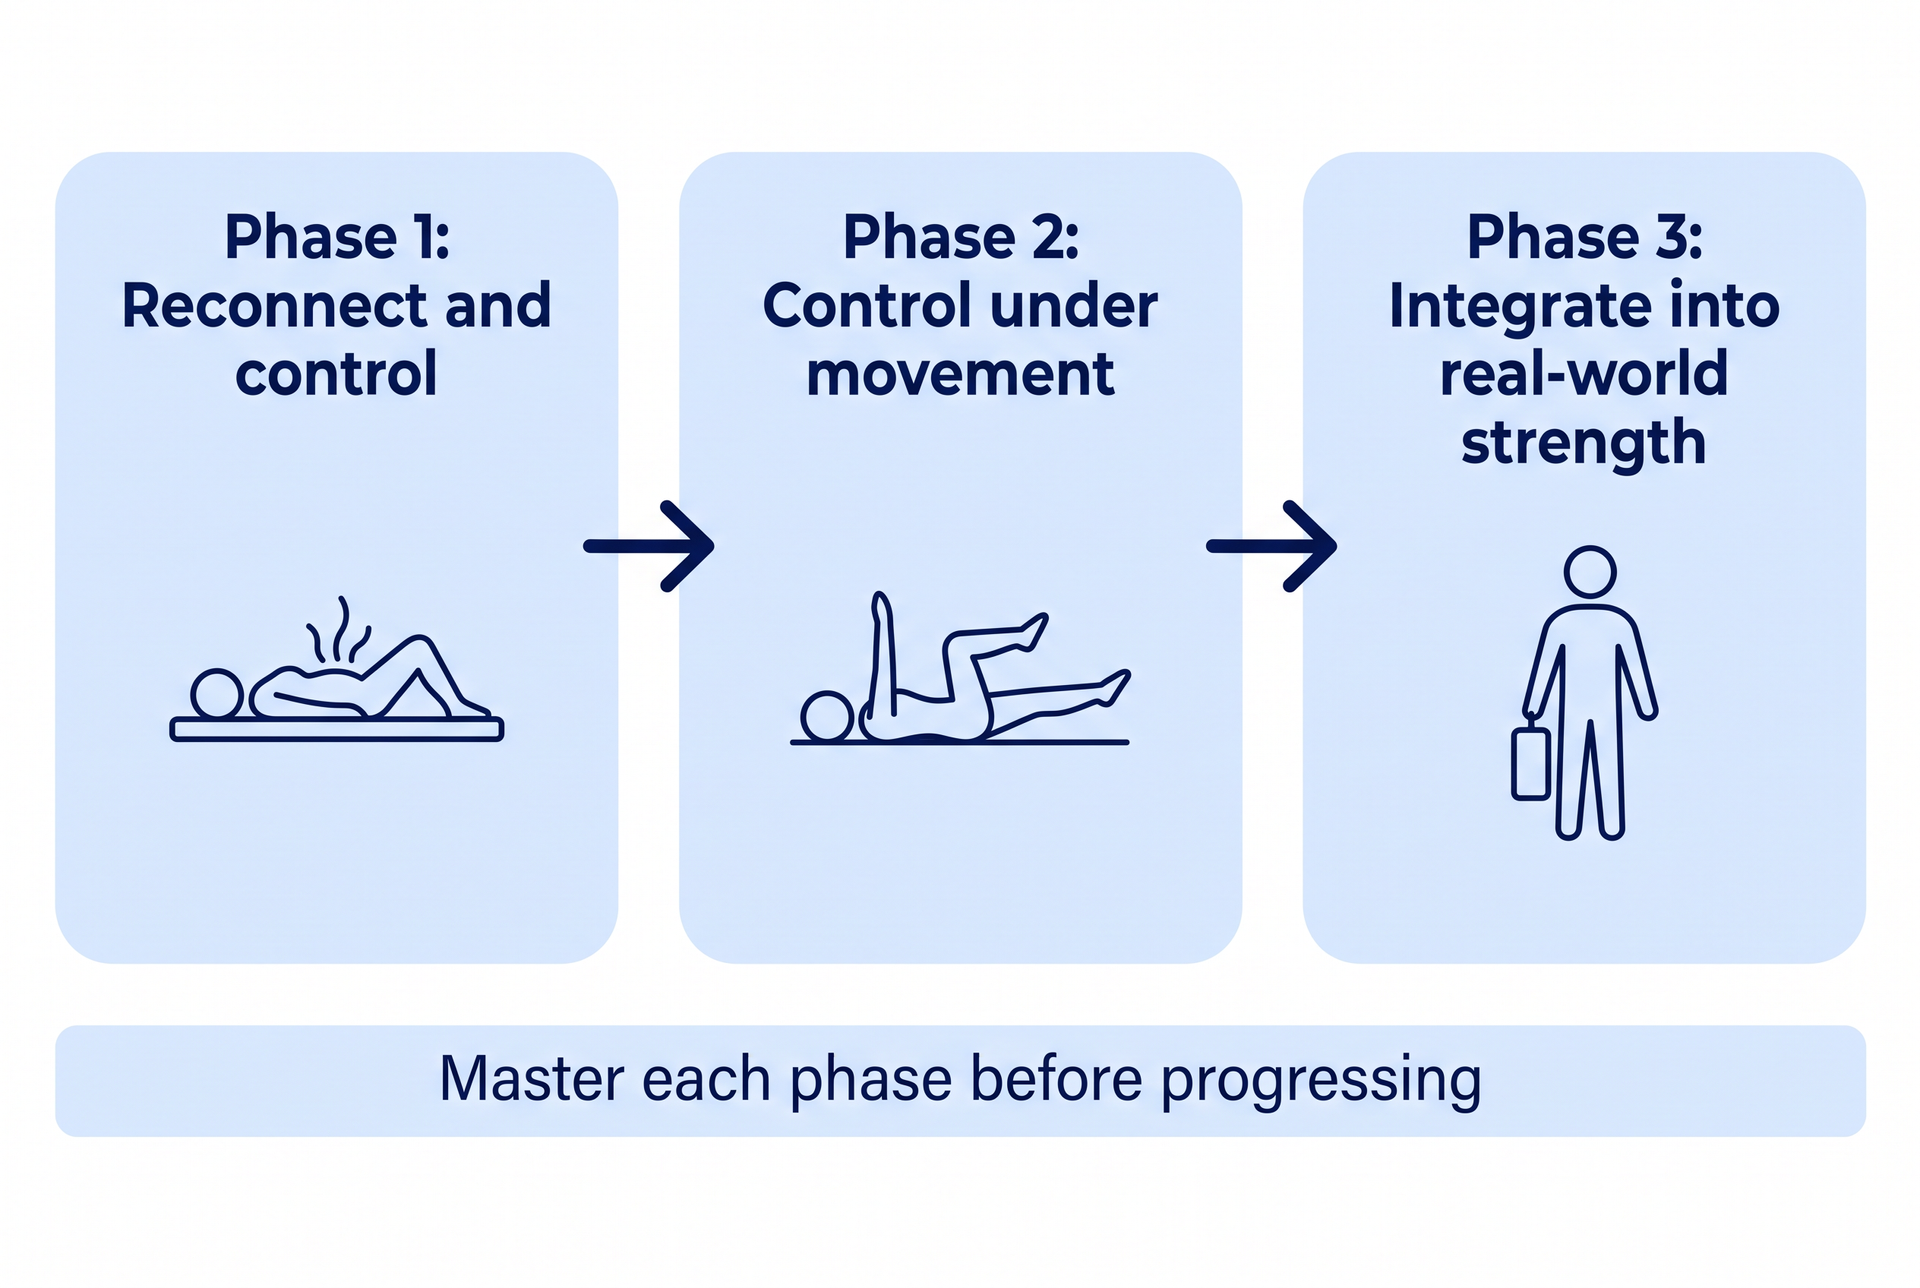
Phase 1: reconnect and control
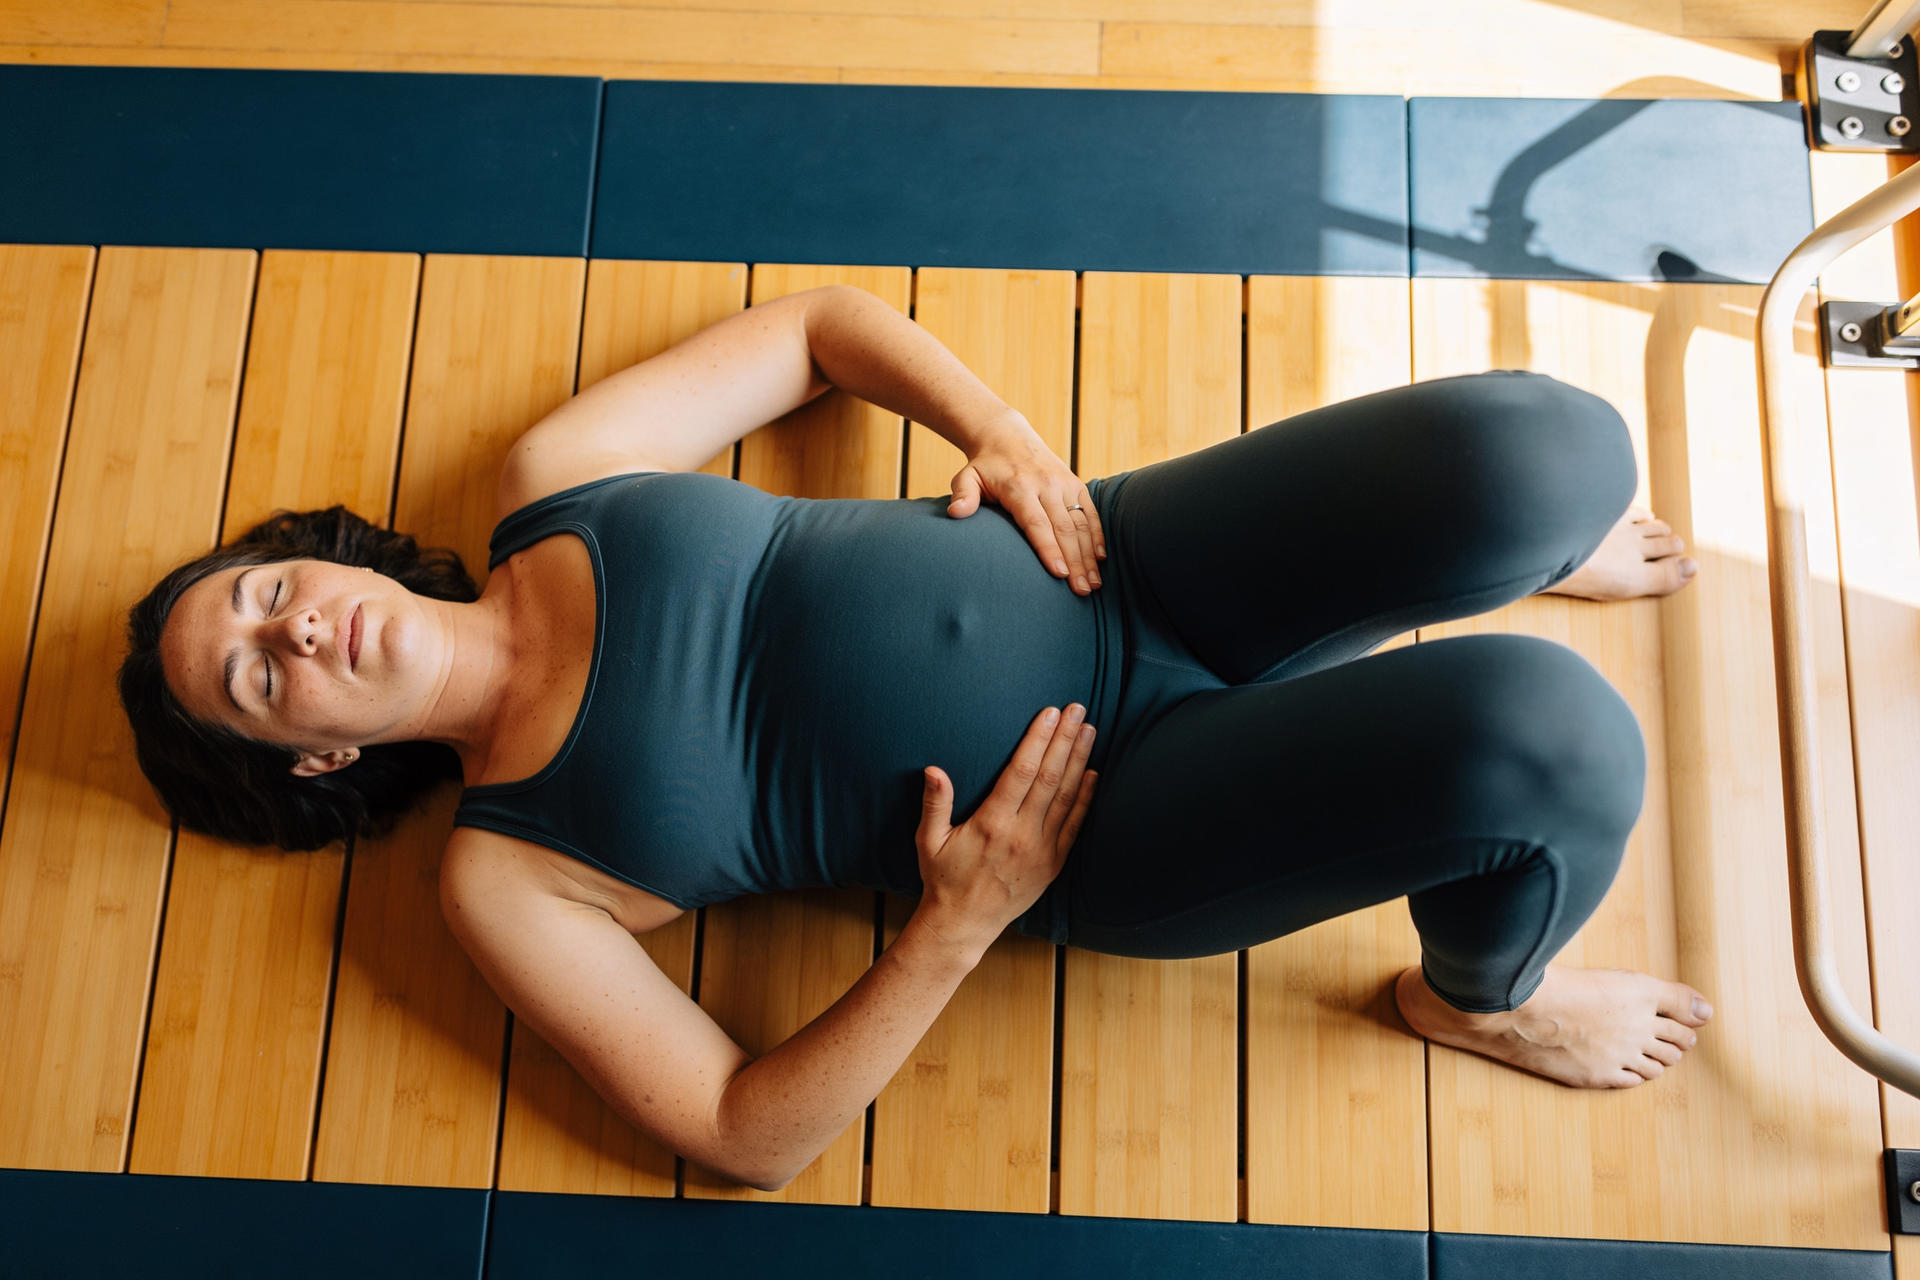
360 breathing with a gentle brace
- Lie on your back with knees bent.
- Inhale gently and think wide ribs and breathe into the sides and back, not a big belly push.
- Exhale through pursed lips, then lightly draw the lower belly in and up as if you are zipping tight jeans.
- Repeat for 5 to 8 slow breaths.
Coaching cues:
- Exhale first, then move.
- Ribs stacked over pelvis.
- Quiet belly, no pushing out.
How we coach the entry point: before we add any load, we want to see that you can keep the midline flat on a slow exhale. We will often have you rest your own fingertips along the midline during these first breaths, and if the belly still domes or pushes outward as you breathe out, that is our signal to stay here and rebuild the breath-and-pressure pattern rather than progress. Earning a calm, flat exhale is the checkpoint that decides when you are ready for the next phase.
Common mistakes:
- Holding your breath.
- Forcing a hard brace that spikes pressure.
- A big inhale that balloons the belly forward.
Heel slide
- Start on your back, knees bent, feet flat.
- Exhale and gently brace.
- Slowly slide one heel away until you reach your limit of control.
- Exhale again as you slide it back in.
- Repeat 6 to 10 reps per side.
Coaching cues:
- Move slow enough that you could pause at any point.
- Pelvis stays still.
- If the midline bulges, shorten the slide; if you held your baby on one hip all morning, expect that side to feel less steady at first, and let it lead at its own pace.
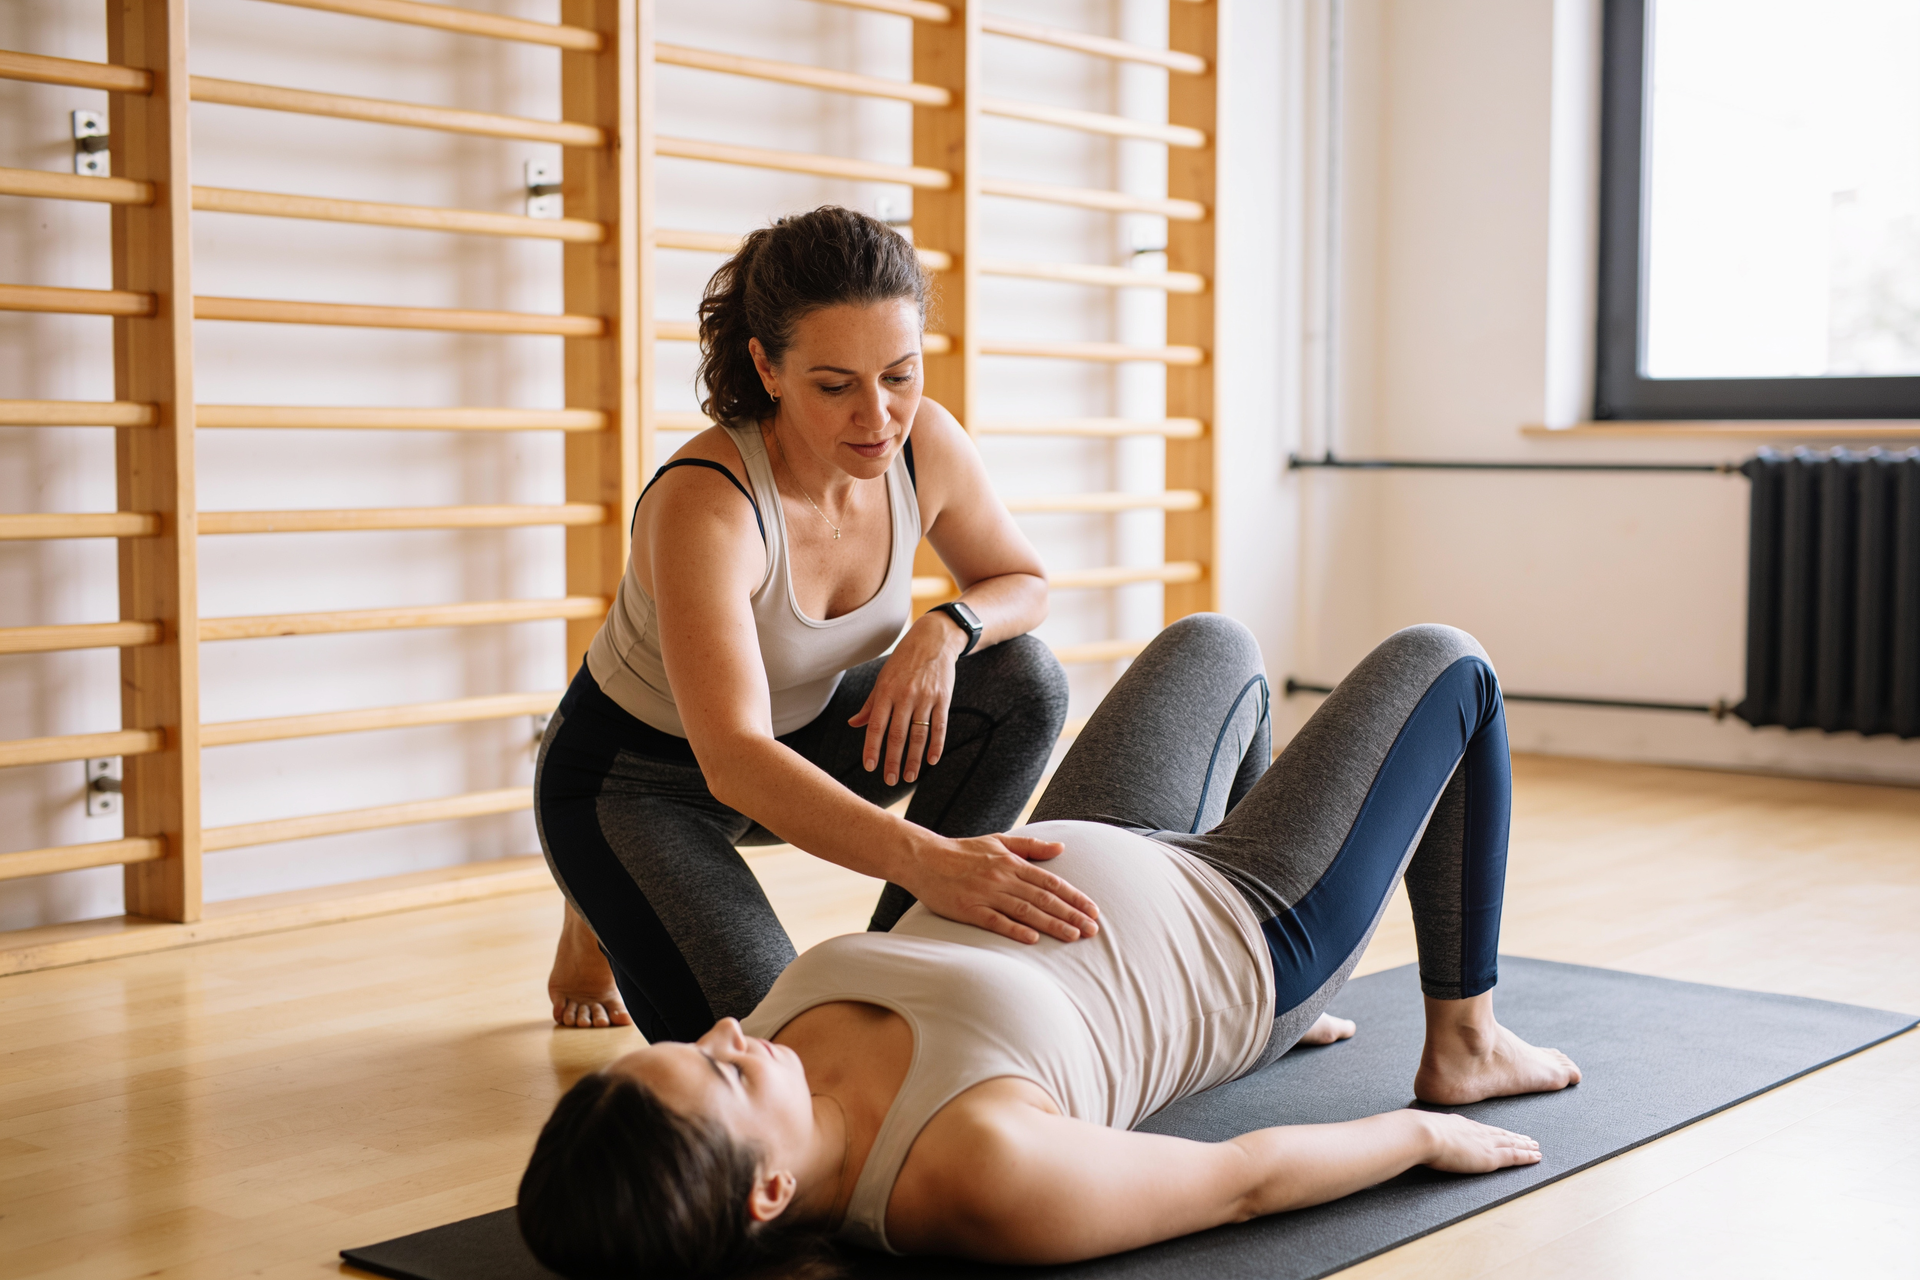
Glute bridge with an exhale
- Lie on your back, knees bent, feet hip-width apart.
- Exhale and gently brace.
- Press through your feet and lift your hips until your body forms a straight line from shoulders to knees.
- Hold for 1 to 2 seconds while breathing calmly.
- Exhale as you lower down with control.
- Repeat 6 to 10 reps.
Coaching cues:
- Lift with glutes, not low back.
- Keep ribs down; do not flare the chest.
Phase 2: control under movement
Dead bug progression
Progression in plain language: start by moving one arm at a time while the legs stay still. When that is clean, switch to moving one leg at a time. When both are controlled, combine the opposite arm and leg, but only if the midline stays smooth and you can keep breathing.
- Lie on your back with hips and knees bent to about 90 degrees, arms reaching toward the ceiling.
- Exhale and gently brace.
- Move only one limb, an arm or a leg, slowly through a small range.
- Exhale as you return to the start.
- Repeat 5 to 8 reps per side.
Coaching cues:
- Move slow enough that you could stop mid-rep.
- Exhale on effort; do not hold your breath.
- If the belly bulges, shorten the range or choose the easier variation.
Common mistakes:
- Low back arching hard.
- Rushing the rep.
- Turning it into a strain instead of a control drill.
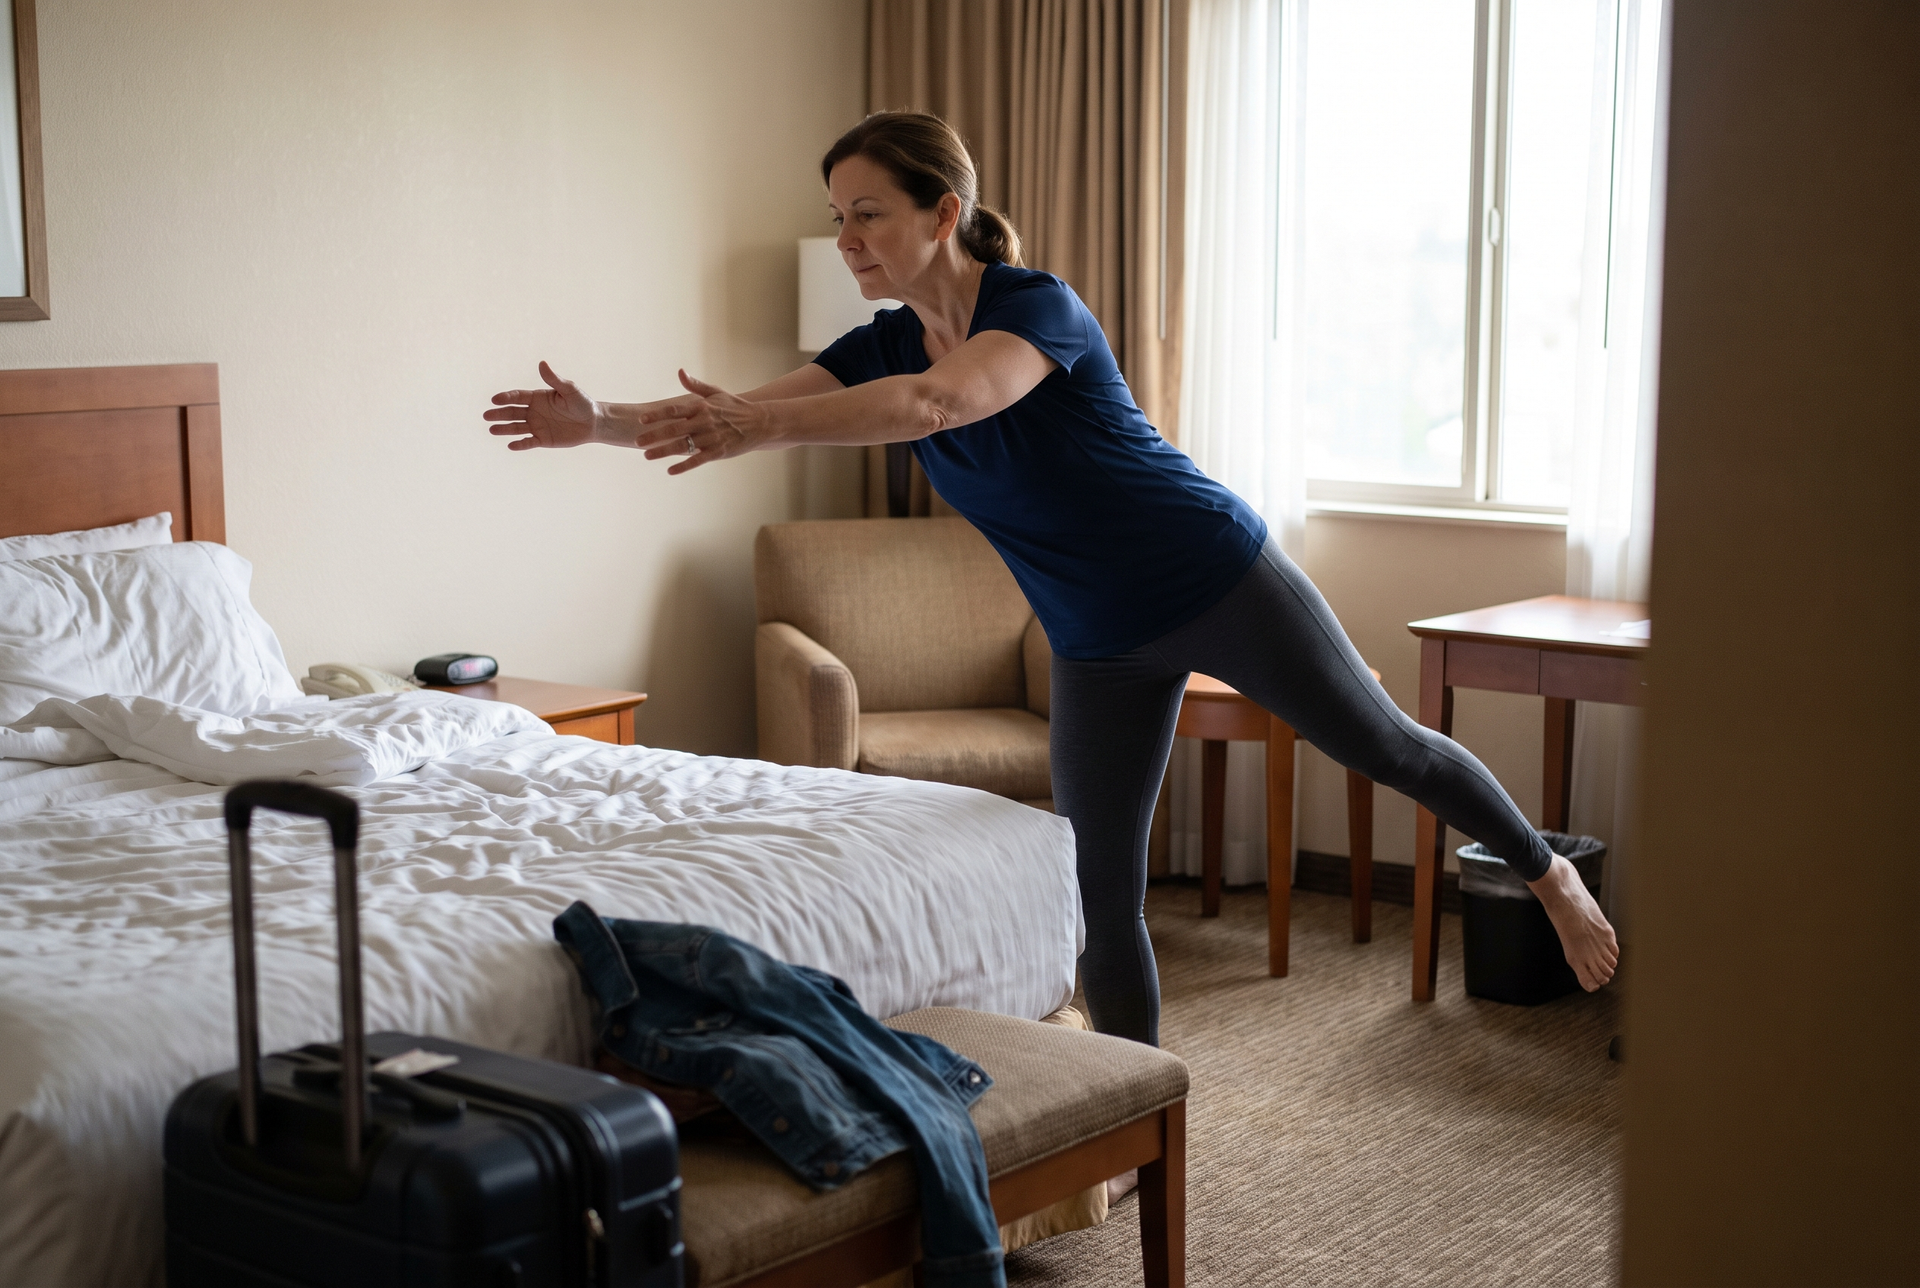
Bird dog, regressed first
- Start on hands and knees. If needed, place your hands on a bench or couch to reduce load.
- Exhale and gently brace.
- Slide one leg back and lift it a few inches, keeping hips square to the floor.
- Hold for 1 to 2 seconds while breathing.
- Return with control, then switch sides.
- Repeat 5 to 8 reps per side.
Coaching cues:
- No twisting; hips stay level.
- Long spine, quiet ribs.
- A small range is fine if it stays clean.
Side plank, knee version
- Lie on your side with knees bent, elbow under your shoulder.
- Exhale and gently brace.
- Lift your hips so your body forms a straight line from shoulders to knees.
- Hold for 10 to 20 seconds while breathing calmly.
- Lower with control, then switch sides.
Coaching cues:
- Lift up and slightly forward.
- Stay tall through the rib cage.
Phase 3: integrate into real-world strength
Incline plank progression, wall to counter to bench
- Place hands on a wall for the easiest version, or on a counter or bench for the harder versions.
- Walk your feet back until your body is in a straight line.
- Exhale and gently brace.
- Hold for 10 to 30 seconds while taking calm breaths.
- Stop if you see midline bulging or need to hold your breath.
Coaching cues:
- Ribs stacked over pelvis.
- Long body, no sagging.
- Control first, then lower the incline.
Suitcase carry, one-sided carry
- Hold a light weight in one hand.
- Stand tall, exhale softly, and brace gently.
- Walk slowly for 20 to 40 steps without leaning.
- Switch hands and repeat.
Coaching cues:
- Stay level, no side-bend.
- Quiet ribs, quiet belly.
- Slow walking is harder, and better here.
Real-life pressure practice
- Before you stand up or lift, exhale gently.
- Keep exhaling as you rise or lift.
- Pause and reset if you feel yourself straining or holding your breath.
Use this to get off the floor, pick up your baby, lift a car seat, carry groceries, and even cough or sneeze.
Exercises other articles say to avoid, and when you can safely bring them back
A lot of lists online say never do crunches, never plank, or never twist. A better rule is not never, just not until you can safely do them.
Crunches and sit-ups
Why they get flagged: early on, these can increase pressure and encourage midline bulging.
Before you reintroduce, you should be able to check off:
- Ten slow heel slides per side with a smooth exhale and no midline bulging.
- Eight dead bug arms-only reps per side without breath-holding.
- A tiny head lift without a cone-shaped bulge.
Reintroduction progression:
- Level 1: head lift only, very small range, with a gentle exhale.
- Level 2: partial curl-up, still exhaling, still small range.
- Level 3: increase range only after the midline stays smooth.
This is not just our preference. A randomized controlled trial published in the
Journal of Physiotherapy tested a 12-week home program of head lifts and curl-ups in women 6 to 12 months postpartum with diastasis recti. It found the program improved abdominal muscle strength and thickness without worsening the inter-recti distance, which is exactly why we reintroduce these moves carefully rather than banning them.
Full front planks
Why they get flagged: they often become a breath-hold contest.
Before you reintroduce, you should be able to check off:
- A wall plank held for 30 seconds while breathing calmly.
- A counter plank held for 20 to 30 seconds without midline bulging.
- Ribs stacked over pelvis without dumping into your low back.
Reintroduction progression:
- Level 1: wall plank.
- Level 2: counter plank.
- Level 3: bench plank.
- Level 4: floor plank in short holds, then build time.
Double-leg lowers and aggressive lower-ab moves
Why they get flagged: long levers often overpower control.
Before you reintroduce, you should be able to check off:
- Eight dead bug heel taps per side with no bulging.
- A pelvis that stays steady, with no rocking or low back arching.
- Steady breathing through the rep.
Reintroduction progression:
- Level 1: heel taps.
- Level 2: bent-knee lowers.
- Level 3: single-leg lowers.
- Level 4: straight-leg lowers later, only if control stays clean.
Twisting core work
Why it gets flagged: rotation plus poor pressure control can flare symptoms.
Before you reintroduce, you should be able to check off:
- Knee-side plank holds that feel steady for 20 seconds per side.
- Suitcase carries that feel stable with no rib flare or leaning.
- An exhale through effort without straining.
Reintroduction progression:
- Level 1: anti-rotation holds, resisting the twist.
- Level 2: slow, small rotation later, then build range.
Frequently Asked Questions
How long does it take to improve diastasis recti?
Most people notice changes in function first, like getting out of bed more easily, lifting the car seat with less strain, and feeling more stable on their feet. Visible changes in the midline often lag behind those functional wins by weeks or months. Results vary, and strength and control often improve even when the gap itself changes little, so let function, not the size of the ridge, be your main measure of progress. Consistency and gradual progression matter far more than perfect exercise selection, and a calm two to four sessions a week usually does more than an occasional hard push.
Can I exercise postpartum?
In the absence of obstetric or medical complications, ACOG's guidance supports physical activity during pregnancy and the postpartum period, with appropriate modifications and individualized pacing. ACOG also notes that gentle abdominal strengthening, including the drawing-in maneuver that pulls the abdominal wall inward, has been shown to reduce the inter-rectus distance. The key word is gentle: start with breath and control work, confirm your own starting point with your provider, and build from there rather than rushing back to hard ab work.
Will I always need to avoid crunches and planks?
No. The lists that say never are too blunt. The honest answer is not never, just not yet. Once you can control pressure during the earlier drills, with a smooth exhale and no midline bulging or breath-holding, you can reintroduce crunch-style and plank-style work in small, progressive steps. The checklists earlier in this article show the specific control markers we look for before adding each movement back.
Is it too late if I am months or years postpartum?
No. You can rebuild coordination and strength at any point, whether you are six weeks or six years out from birth. The starting point may be simpler and the early sessions may feel humble, but the principles of pressure control and gradual progression stay exactly the same. Many of the women we coach start this work long after their last pregnancy and still make real gains in how stable and capable they feel.
Postpartum core recovery in Pleasant Hill: how Royal Blue Fitness helps
If you are tired of guessing, this is exactly what we coach at Royal Blue Fitness. We look at how you breathe, brace, and transfer force through real movements, then build you back toward full-body strength training with clear checkpoints. That is the difference between a list of diastasis recti exercises and a plan that actually changes how your body feels under load.
Many of the women we coach after birth arrive carrying themselves carefully, half-expecting their core to let them down. The shift we love to watch is the one that happens when control comes back: lifting the car seat stops being a held breath, and confidence returns to their movement. That is the real goal here, not a flat midline.
The piece this article cannot give you is your own starting point, which is where coaching begins. A
Strength and Range of Motion Assessment shows which movements you can already control and where your pressure management breaks down, so your phase one is matched to your body rather than to a generic list. If you are rebuilding after birth around Pleasant Hill or the wider East Bay, it is a low-pressure first step, and if pelvic floor symptoms are part of the picture, we are glad to work alongside your provider or a pelvic floor physical therapist.
The short version
If you want the recovery plan in three lines:
- Exhale on effort to control pressure.
- Choose the hardest variation you can do without midline bulging.
- Progress gradually, like strength training.
Start from a cleared, informed place, move through the phases at your own pace, and let function lead the way.
Here are our latest articles! Click to read more.